Are you interested in milling your own lumber but unsure how to use Alaskan chainsaw mill get started? Look no further! We will guide you on how to use an Alaskan chainsaw mill. We will go through the process step by step. This guide will help you operate an Alaskan chainsaw mill. It has all the information beginners and experienced woodworkers need. So, let’s dive in and learn how to turn logs into beautiful slabs or boards for your woodworking projects!
Understanding Alaskan Chainsaw Milling
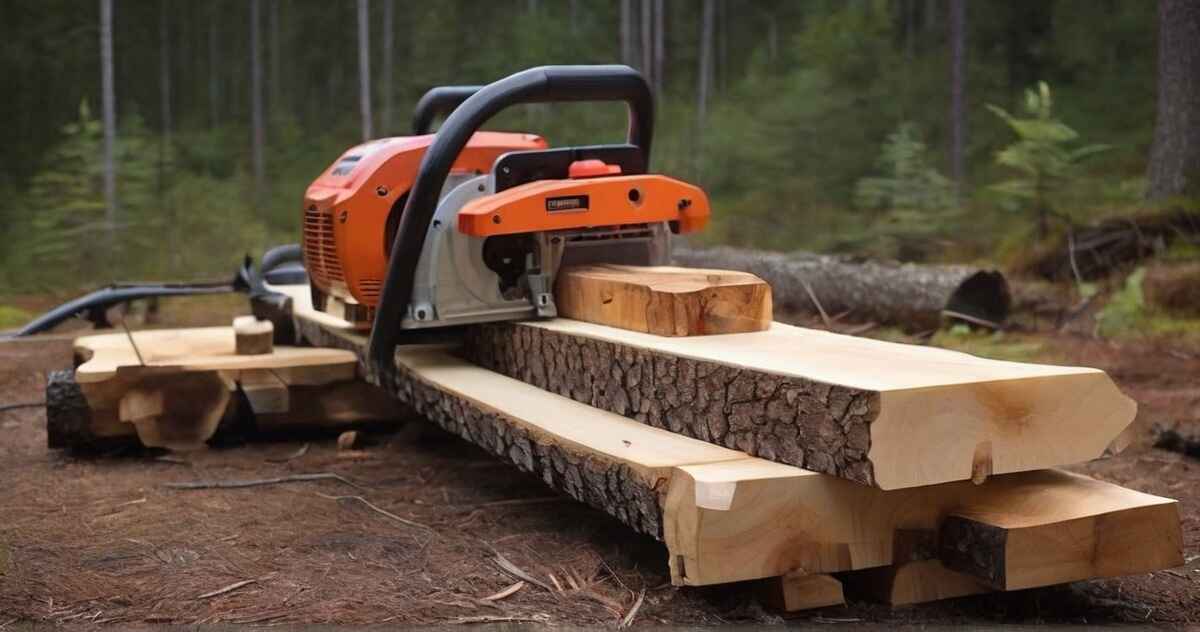
Alaskan chainsaw milling involves cutting trees into slabs or boards. This process uses a chainsaw and a special mill. Woodworkers often use this method to save money and create unique pieces. They mill their own lumber and repurpose salvaged trees. Alaskan chainsaw milling has a main advantage: transforming trees into furniture. It can create beautiful and functional pieces from firewood or mulch.
Equipment Needed for Alaskan Chainsaw Milling
To get started with Alaskan chainsaw milling, you will need the following equipment:
Chainsaw
The most critical tool for Alaskan chainsaw milling is obviously a chainsaw. The more powerful the saw, the better the milling experience. While it is possible to mill with a smaller saw, it will be slower and more labor-intensive. It is recommended to use a professional-grade chainsaw with a higher power output for efficient milling. Consider investing in a Stihl 661 or a similar model for optimal performance.
Chainsaw Bar and Chain
The bar is the part of the chainsaw that holds the chain. Chainsaws have a maximum bar length recommended by manufacturers. Check your saw’s guidelines to be sure. For chainsaw milling in Alaska, use a longer bar. This will accommodate the mill attachment and make operation smoother. Using a specialized ripping chain for milling saves time and ensures smooth cuts.
Alaskan Chainsaw Mill
To properly mill logs, you will need an Alaskan chainsaw mill. Various brands and options are available. The most important factor to consider is how adjustable the mill is. Make sure the mill fits your chainsaw bar length. It should have easy height adjustment for cutting slabs. Choose the thickness you desire. The Granberg International MKIV chainsaw mill is a popular choice. It offers versatility and reliability.
Guide Rails
For the first cut, guide rails are essential to provide a flat surface for the mill to slide across. Some mills have guide rails built-in, but you can make your own. Use an extension ladder section or flat boards. The important thing is to ensure stability and a level surface for accurate cutting.
Safety Gear
Safety should be a top priority when operating an Alaskan chainsaw mill. Protect yourself from health hazards and injuries. Keep your lungs protected by wearing a respirator or mask. Wear hearing protection, safety glasses, or a face shield. In addition, wear chainsaw chaps. They are designed to protect against accidental contact with the chain. Also, wear gloves for extra safety.
Extras
Having some additional accessories on hand can greatly enhance your milling experience. You should have a chainsaw wrench for chain maintenance. Also, keep wedges for stability. Use a hand file for chain sharpening. Finally, have a log peavey or cant hook for log manipulation. These tools will make your milling process more efficient and comfortable.
How to Use Alaskan Chainsaw Mill
The Milling Process
Now that we have covered the necessary equipment, let’s walk through the step-by-step process of using an Alaskan chainsaw mill.
Step 1: Log Preparation
Start by selecting a suitable log for milling. Look for straight logs without major defects or irregularities. Using a chainsaw, remove branches and protrusions from the log. Then, attach the guide rails.
Step 2: Setting Up the Guide Rails
Position the guide rails on the log to provide a flat surface for the first cut. Ensure that the rails are level and securely attached to the log using screws or clamps. Take your time to ensure the guide rails are stable and accurate. The first cut is crucial for the milling process foundation.
Step 3: Making the First Cut
Set the mill attachment to the correct depth. This will let the chainsaw cut just under the guide rail. Take caution to avoid hitting the guide rail or any screws during the cutting process. The initial cut is fast and removes little wood. It acts as a reference for the following cuts.
Step 4: Removing Guide Rails and Continuing the Cuts
Once the first cut is complete, remove the guide rails and top slab to access the remaining log. Adjust the mill attachment to achieve your desired slab thickness. Normally, this is around 2.5 inches. Make cuts without guide rails. Slide mill attachment along log surface. Take care to align each cut accurately for consistent and uniform slabs.
Step 5: Dealing with the Pith
As you progress through the log, you will eventually reach the pith, the central part of the log. To minimize the risk of splitting, try to make cuts that avoid including the entire pith in a single slab. By slicing through the center of the pith, you can reduce the chances of major splits in the final slabs.
Step 6: Supporting the Last Remaining Section
Cutting the last remaining section of the log can be challenging. The chainsaw may drag on the ground. To overcome this, prop one end of the log using a support or elevate it at a downward angle. Gravity helps to cut by making it easier to maneuver and complete the final cuts.
Advanced Techniques:
Create natural live-edge slabs for rustic projects. Achieve precision with intricate cuts, curves, and detailed patterns. Navigate dense or knotty woods with expertise, adapting your milling approach. Elevate your Alaskan chainsaw milling skills to craft unique and detailed projects with confidence and precision.
Drying and Preparing the Slabs
Before using the slabs for woodworking projects, they must be dried and prepared properly. Steps to follow:
Allow Sufficient Drying Time
Freshly milled slabs have a lot of moisture and must dry. Time is also needed for them to adapt. Factors such as slab thickness and environmental conditions affect the drying process. Generally, allow one year per inch of thickness for drying. Monitor the moisture content with a moisture meter. Compare it to dry wood in your shop. Ensure the slabs are adequately dried.
Seal the Ends
To prevent rapid moisture loss from the ends of the slabs, it is crucial to seal them. Apply a log sealer to the ends of the slabs. This will stop too much moisture from evaporating. It will also reduce the chance of cracking or splitting.
Properly Stack the Slabs
Stack the slabs on a flat surface, ensuring they are elevated off the ground to promote airflow. To allow air circulation, place stickers (wood sticks) between each slab. This prevents mold growth and should be 3/4 or 1-inch thick. To prevent warping or distortion, stack items on level surfaces when drying.
Troubleshooting and Common Issues:
Encounter uneven cuts? Adjust chain tension and ensure proper alignment. Chain problems? Regularly inspect, sharpen, and maintain tension. Facing stability issues? Choose stable surfaces, distribute weight evenly, and adjust technique for challenging terrain. These tips improve the efficiency of your Alaskan chainsaw milling process. They also enhance the precision of the process.
Maintenance Tips:
Regularly clean the chainsaw to remove sawdust and debris. Sharpen the chain when necessary to keep it sharp. Ensure proper lubrication for the chainsaw to perform well. Adjust chain tension before each milling session. Inspect the Alaskan chainsaw mill for wear before using it. Lubricate the moving parts of the mill. Check the adjustments of the mill as well. Promptly replace worn-out parts. These simple steps enhance equipment lifespan, ensuring efficient and safe Alaskan chainsaw milling.
FAQs:
- Q: Can I use any chainsaw for Alaskan chainsaw milling?
- A: While various chainsaws can be used, it’s recommended to use a professional-grade chainsaw with higher power, like the Stihl 661, for efficient milling.
- Q: How can I prevent slabs from cracking during drying?
- A: Seal the slab ends with log sealer, stack them on a flat surface with stickers for airflow, and use level surfaces to avoid warping.
- Q: How can I ensure my safety?
- A: Wear safety glasses, chainsaw chaps, respirators, hearing protection, and gloves. Regularly maintain your chainsaw and follow safety guidelines.
- Q: Can I use the mill for any wood type?
- A: Alaskan chainsaw milling works with various woods, but choose straight logs without defects for better results.
- Q: How long does it take for slabs to dry, and what factors affect drying time?
- A: Drying time varies, but as a general rule, allow one year per inch of thickness. Factors include thickness and environmental conditions. Use a moisture meter to monitor moisture content.
Conclusion
Congratulations! You have now learned how to use Alaskan chainsaw mill to turn logs into beautiful slabs or boards. Remember to prioritize safety. Wear the right protective gear. Follow the steps in this guide. It takes practice and experience to become skilled at chainsaw milling. This skill will enable you to create custom pieces for woodworking projects. Happy milling!